A few days ago I received my Tytera MD-380 which I ordered in order to exeriment with the modified software and to have the chance to hear my own audio back. It was just a little less than an hour after it was flashed with the modified firmware allowing for talk group independent listening. I used the toolset by Travis KK4VCZ from [1] to compile respecitvely patch the original firmware for the radio.
The process for updating / patching the firmware is quite easy. I just cloned the github repository from [1] and started the process as mentioned in the README:
$ git clone https://github.com/travisgoodspeed/md380tools.git
$ cd md380tools
$ make clean
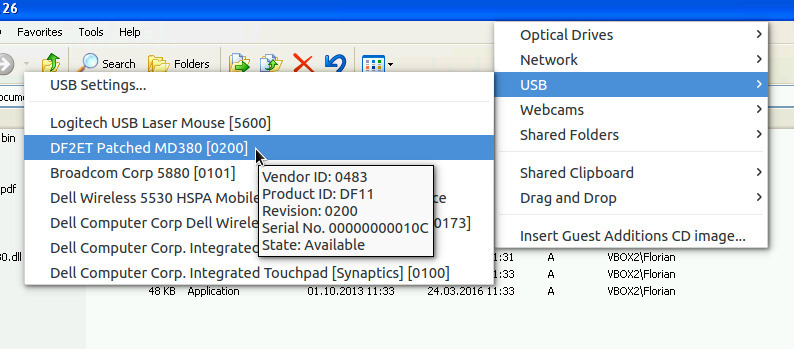
$ make allThis downloads the firmware from VA3XPR and applies some patches. Some of them enable the listening to any transmissions regardless of the talk group used. Another one modifies the USB device descriptors. If you for example want to replace Travis’ name and callsign by your own you have to modify the file patches/2.032/patch.py in line 103 where it says “#Change the manufacturer string”. After that my radio can be found under my own callsign in the list of connected USB devices for a VirtualBox vm for example.
Of coure you should re-make the firmware after you have modified this patch. When the process of compiling the firmware finished you will find a file called firmware.bin in the folder patches/2.032/. This is the firmware image that can be transferred to the radio (in upgrade mode) using the original Tytera firmware upgrade software (upgrade.exe).
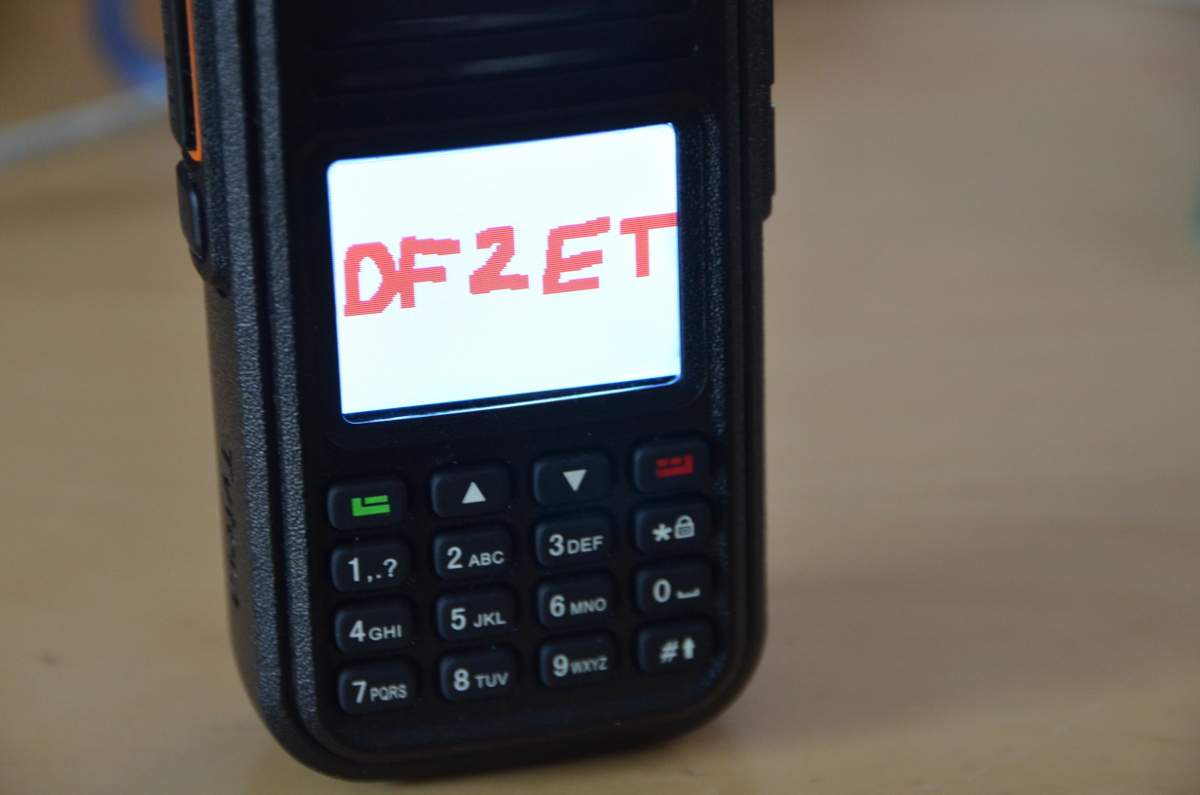
After I got this running I also changed the boot logo as seen in the picure above. You only need to create a tiny picture with Gimp that is 160x40 pixel in size with a white background. Paint some nice stuff into it and save it as RAW ppm file. The file needs to be saved in the patches/2.032/ folder.
It is essential that you re-create the file header of the image as in the supplied 0x80f9ca8-poc-gs.ppm file. That can simply be done with a text editor by editing the picures. I recommend vi for this task. Modify your own picture so that the first 5 lines read:
P6
# MD380 address: 0x80f9ca8
# MD380 checksum: -941681526
160 40
255
After that the Makefile in the patches/2.032/ folder needs to be modified to use your image as source file to put into the firmware image. I commented out the existing line and added a new one:
$ git diff patches/2.032/Makefile
diff --git a/patches/2.032/Makefile b/patches/2.032/Makefile
index bf7f05c..a5376c3 100644
--- a/patches/2.032/Makefile
+++ b/patches/2.032/Makefile
@@ -11,7 +11,8 @@ patches: unwrapped.bin
        ./patch.py

 logo: patches
-       ../../md380-gfx --firmware=experiment.img --gfx=0x80f9ca8-poc-gs.ppm relocate
+       ../../md380-gfx --firmware=experiment.img --gfx=0x80f9ca8-df2et.ppm relocate
+       #../../md380-gfx --firmware=experiment.img --gfx=0x80f9ca8-poc-gs.ppm relocate
        #../../md380-gfx --firmware=expriment.img --gfx=0x80f9ca8-poc.ppm write
        #../../md380-gfx --firmware=experiment.img --gfx=0x80f9ca8-shmoo.ppm write
        #../../md380-gfx --firmware=experiment.img --gfx=0x80f9ca8-shmoocon.ppm write
After that just recompile the firmware and transfer it to the radio with the firmware upgrade tool as outlined before. And voilà: There you go with some nice little hand painting as boot screen.
I need to dig further into the details of why some Gimp generated .ppm file does not work. So some work left for the future besides trying to built my own firmware with some more mods. :-)
Please be aware that any modification to your rig may lead to a loss of warranty. Use this information at your own risk. I am not responsible for any damage to your equipment.